7 Yin Yoga Poses To Maximise Your Flexibility
Turn on Netflix, grab some cushions, relax into these poses and witness flexibility gains you never thought possible!
There are a number of different styles of modern yoga, each one intended to achieve a different objective. Ashtanga is a demanding series of postures designed to build strength and flexibility, Bikram is a cardiovascular workout that you practice in a heated room, Iyengar yoga is therapeutic and relies heavily on props, the goal of Kundalini is spiritual perfection, and AcroYoga is the most fun and playful.
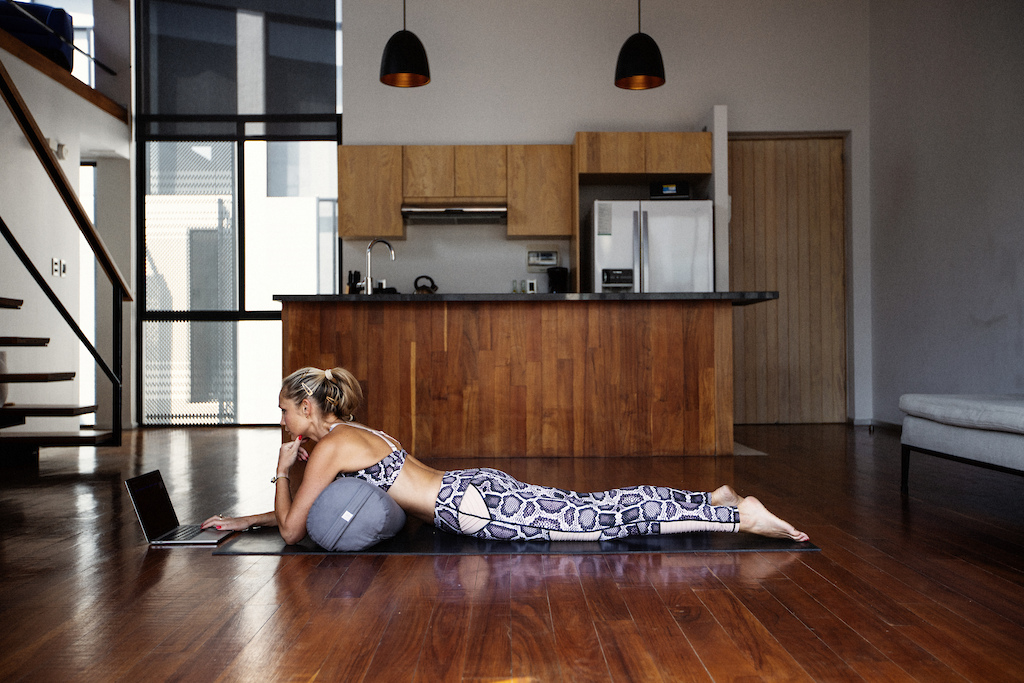
In this article, I’m going to demonstrate a style of yoga called Yin Yoga, that is designed to radically improve your flexibility and alleviate areas of persistent pain. In Yin Yoga, we hold poses for 10 breaths or more, using props, such as straps and blocks, for support. It’s deeply relaxing, the poses are highly targeted, and unlike more dynamic styles of yoga, you can do it while you’re watching Netflix or listening to an audiobook.
For a practice so effortless, it’s crazy how effective it is, purely because of the amount of time you spend relaxing into each pose.
What you need
For this sequence, you’ll need a yoga strap and two blocks. You can buy these inexpensively on Amazon or improvise with a belt, a pillow and a stack of books. The reason for using props is that Yin Yoga requires little or no muscular exertion. The idea is to support your body, relax, and allow your muscles to let go of tension naturally with the help of gravity.
When it comes to improving flexibility, consistency is key. So you can either practice this 30-minute, full-body sequence 2-3 times a week, or if you’re short on time, pick 3 or 4 postures to focus on. In Yin Yoga, time, not intensity, is the crucial factor.
How to do this sequence
For each pose, look at the anatomical objective, grab the props that you need and settle in at the appropriate depth for you. Not every pose will be comfortable but you shouldn’t experience sharp or searing pain. Hold each one for 10 breaths, trying to remain completely still. If you’d like, you can build up to 3 minutes or more. And if you do decide to go longer than 10 breaths, I recommend that you use a timer and increase the length of your holds incrementally over time.
Breathing in Yin Yoga
You don’t have to breathe in a particular way in this style of yoga but you should check in to see that your breathing is natural and unforced. The relaxation of your muscles happens on the exhalation, so you may like to experiment with extending your out-breath but this is likely to happen naturally if you’re doing your best to stay relaxed.
I had one mountain biker doing these poses regularly for six weeks and he’s never lost the flexibility that he achieved during that period. He now has no problem sitting cross-legged with his back straight and I rarely have to offer him modifications, even for the more advanced yoga postures.
So sit back, relax and say goodbye to that deeply-held tension you’ve been holding onto for years!
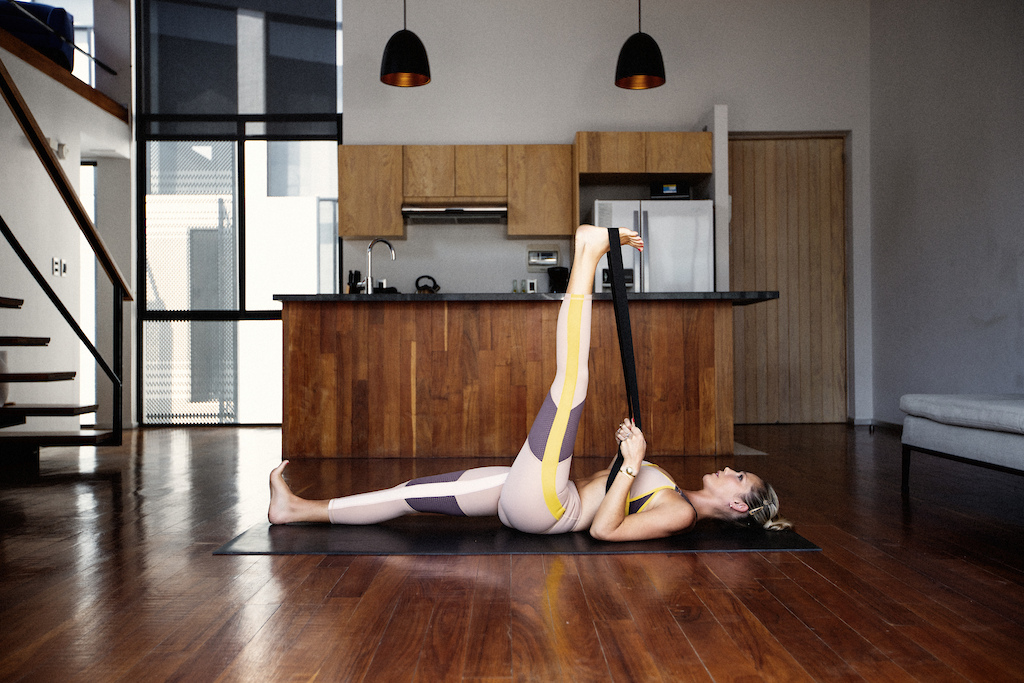
1. Reclining Hand-To-Big-Toe
Objectives: increases flexibility in the calves and hamstrings. (This is where you want to bring your awareness.)
Grab your strap and loop it around the ball of your right foot (the other one from the photo). Straighten your right leg, flex your right foot and lift your leg as high as you can. Walk your hands up the strap and draw your right thigh in towards your chest. Relax your neck and shoulders and keep your right leg as straight as you can, no matter how high it comes. Hold for 10 breaths on the right side only before moving onto the next pose.
2. Reclining Hand-To-Big-Toe B
Objectives: release tension in the calves, hamstrings, groin and adductors. (Bring your attention here.)
Open your right leg out to the side to bring the stretch into your groin and adductors. You can rest your right foot on a block at the most appropriate height for you. (Standard yoga blocks are 4″ x 6″ x 9″ giving you 3 choices of height.) Keep your right foot flexed and lift your right leg higher to maintain the stretch in your calves and hamstrings. Hold for 10 breaths.
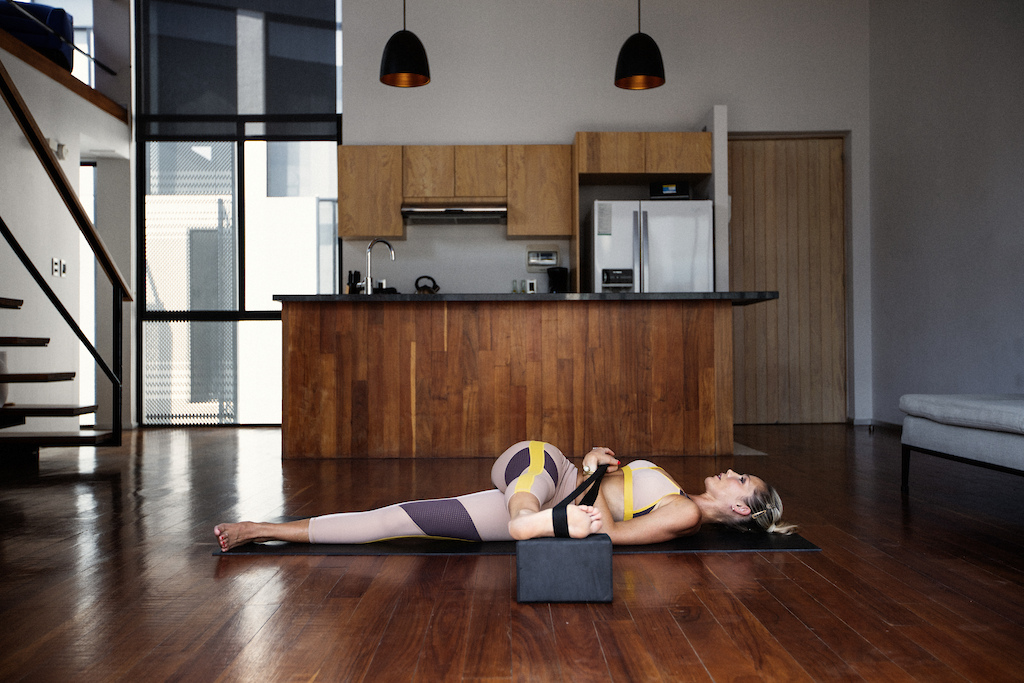
3. Reclining Hand-To-Big-Toe C
Objectives: release tension in the calves, hamstrings, glutes and outer hips.
Bring your right leg across your body and support your right foot on a block on the left-hand side of your body. This will bring the stretch into the outside of your right hip. Relax your neck and shoulders and bring your right foot as high as you can to keep the stretch in your calves and hamstrings. Hold for 10 breaths before repeating these first 3 poses on the other side.
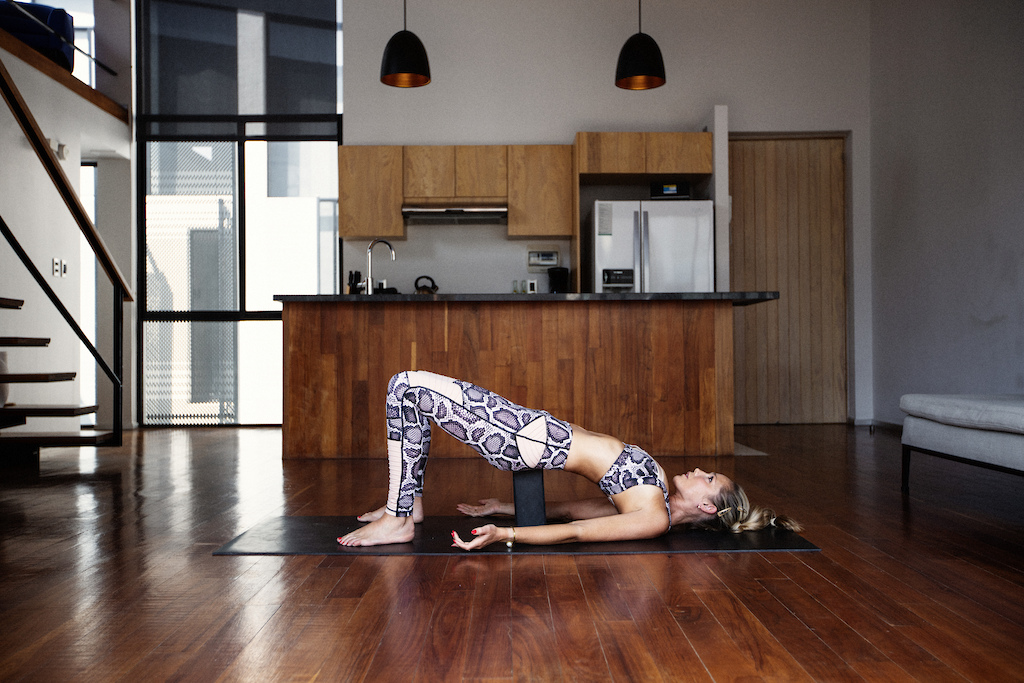
4. Supported Bridge
Objectives: release the hip flexors, improve thoracic spine mobility and open up the chest.
For this variation of Bridge pose, put a block underneath your sacrum, at the base of your spine. Choose the right height for you and relax into the pose for 10 breaths. Check that your feet are hip-width apart and parallel—your heels should come directly underneath your knees and turn your palms up to externally rotate your shoulders and gently stretch your chest.
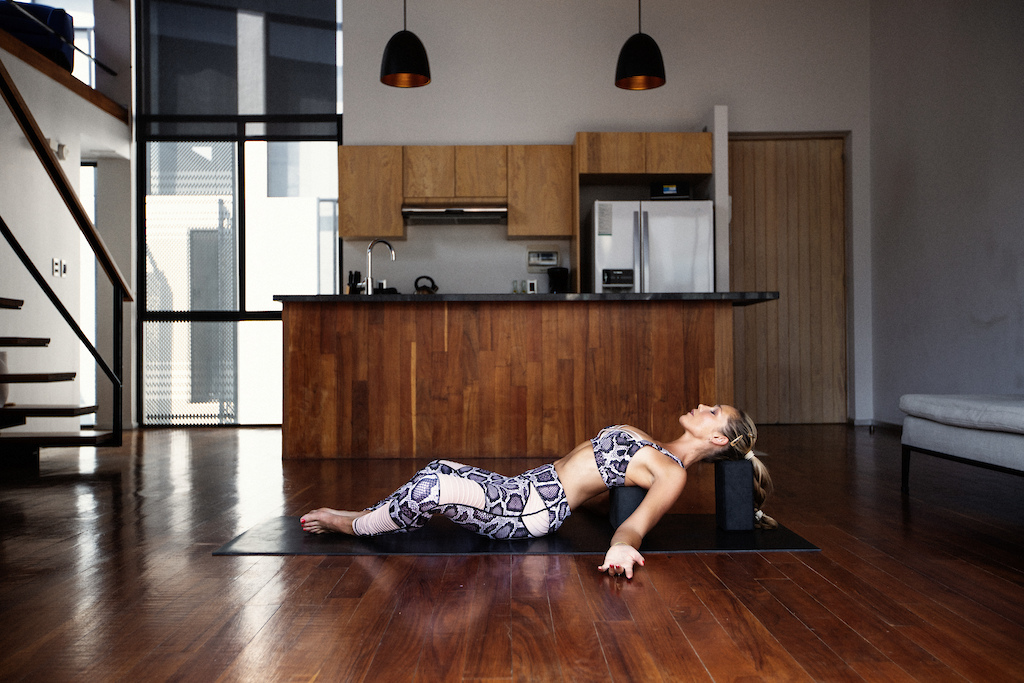
5. Reclining Butterfly
Objectives: release the groin, improve t-spine mobility and open up the chest.
This pose is both a backbend and a hip opener. Rest the back of your head on a block stacked lengthways and your shoulder blades on a block placed horizontally, at medium height. Bring your arms out to the sides to stretch your chest and your legs into the shape of a diamond to release tension in your groin. Hold the pose for 10 breaths. You may want to support your knees on blocks or pillows for additional support.
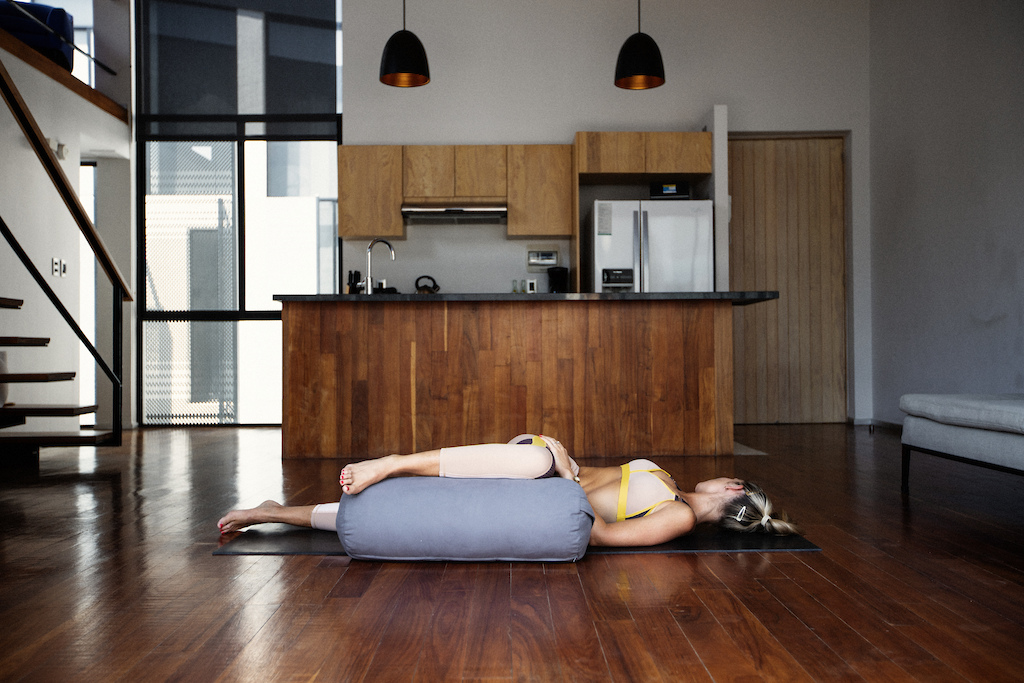
6. Reclining Spinal Twist
Objectives: release tension at the lower back, lightly stretch the outer hips and open up the chest.
After a backbend, this twist should feel really good. You can grab a bolster or a pillow if your knee does not come all the way down to the mat. Hug your right knee into your chest and draw it across your body as you look to the right. Try to bring your right knee up to hip-height and look as far as you can to the right to feel the stretch down the left-hand side of your neck. Hold the pose for 10 breaths on each side.
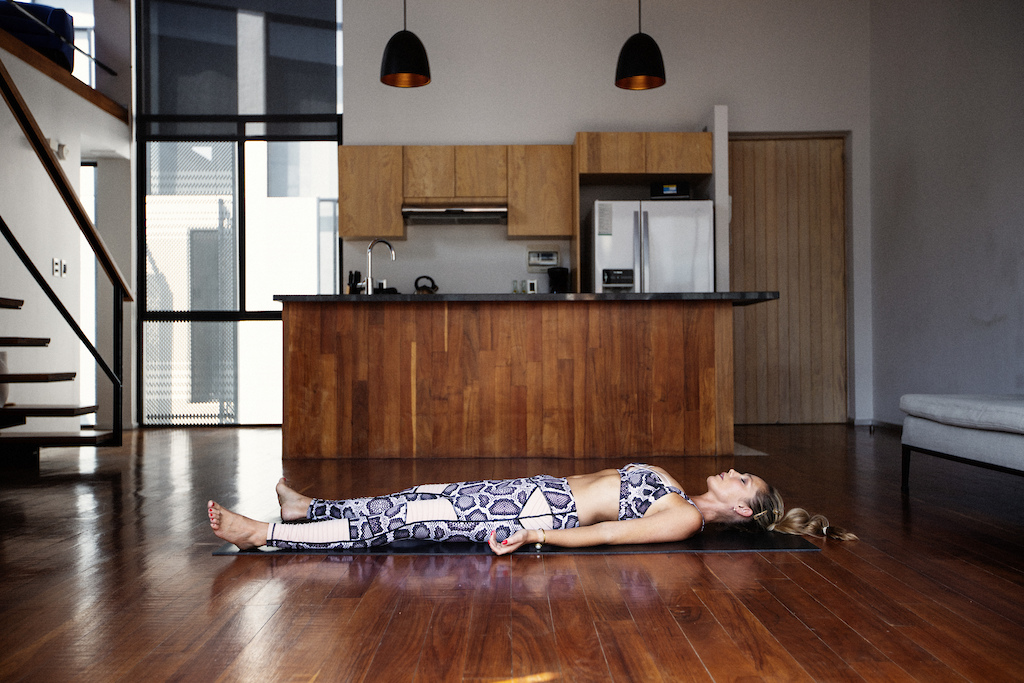
7. Final Resting Pose
Objectives: to release a deeper layer of physical and mental tension.
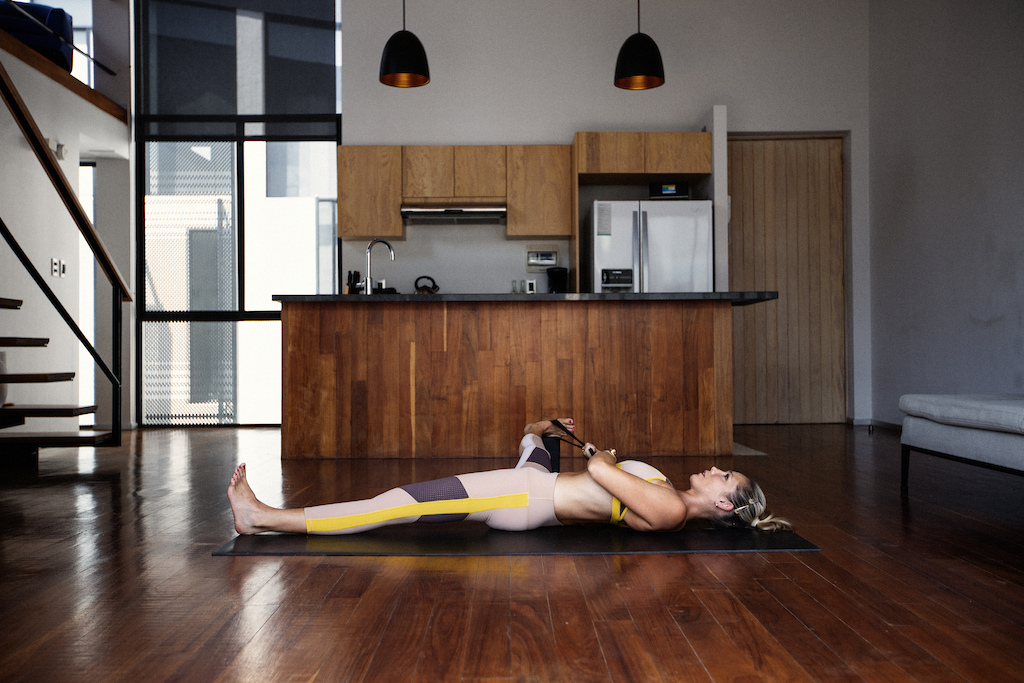
Lie down on your back with your feet hip-width apart, arms by your sides, palms face up. Let your feet fall open, relax your neck and shoulders and allow your body to soften. You may find this posture more comfortable if you put a pillow under your knees. Close your eyes and hold the pose still for a few minutes, following the natural rhythm of your breath as it comes in and out of your body.
I hope you enjoy these poses! Let me know how you find them.
I’m currently offering your first month of yoga free when you sign up to my site. Since I first published the Yoga For Mountain Bikers series on Vimeo, my video library has grown to 150+ videos that I have arranged into a number of different programs. If you're interested, you can check those out here: https://yoga15.com/courses.
Author Info:
Must Read This Week

These yin poses also look great, I will give them a try! Though I do not see anything for the quads specifically which together with the hip flexors contribute towards front chain tension for us bikers. Shouldn’t we add something quad specific to this routine?
But you're right. The anterior chain shortening and tension is a major problem for riders, predominantly through psoas and the pecs.
And Lizard (or Dragon) is the standard yin pose for hip flexors, which is really great, it's just not as relaxing as these as it isn't a reclining posture. Good one to throw in though: yoga15.com/pose/lizard
youtu.be/MA6c7AsVNfo
Kudos @yoga15app
www.painscience.com/articles/stretching.php
And at the end of the day, you do what you want of course.
My point is some claims are evidence based, some are not and when it's come to yoga and all, it's more often not. Same as helmet protection, you can come on the market and claim "my brain protector foam is the best it does this and that try my helmet", you'll even be able to find some good testimonies to support that, and then comes Virginia tech helmet tests saying "No, it doesn't does this and that, and it's not the best".
That is complete bullshit. Especially when talking about cyclists/bikers.
1 Flats only - even for SPD's and such.
2 Use a shorter lace and lace them up to only half the holes.
3 If they have steel eyelets, remove them
4 If Velcro - cut that tab off that goes beyond where it attaches.
5 Remove buckles of any kind, use only the lace or velcro.
6 Cut off/down knobs on sole.
7 Remove double stitched areas to only single stitch.