Reader Story: Making a Custom Bike By Recycling Old Frames
Words: Jackson Green
Photos: Blissfield Photography and Jackson Green
Many Pinkbike readers may have a few, cracked, out of warranty, or out of date frames frames lying around. They no longer have a use, but you remember the good times you had and you can't bear to throw them away. Well, how about turning them into something you really want?
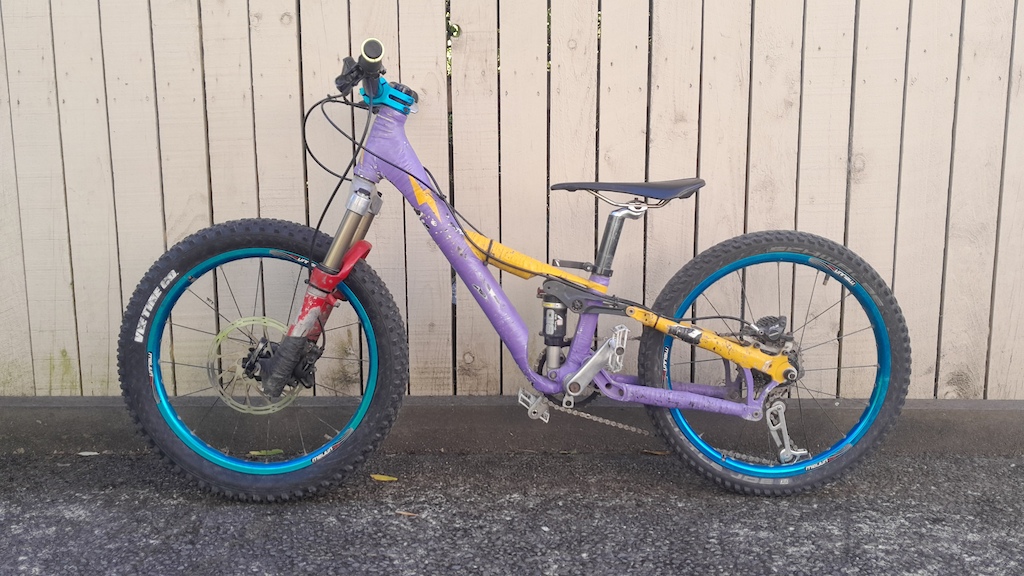
I have built bicycle frames for a long time. I started building frames using steel so my partner and I could feed our tandem riding addiction. That is a good story too, but building frames that way is pretty slow. Once I became a dad and started building bikes for my kids, I wanted a way to make frames more quickly.
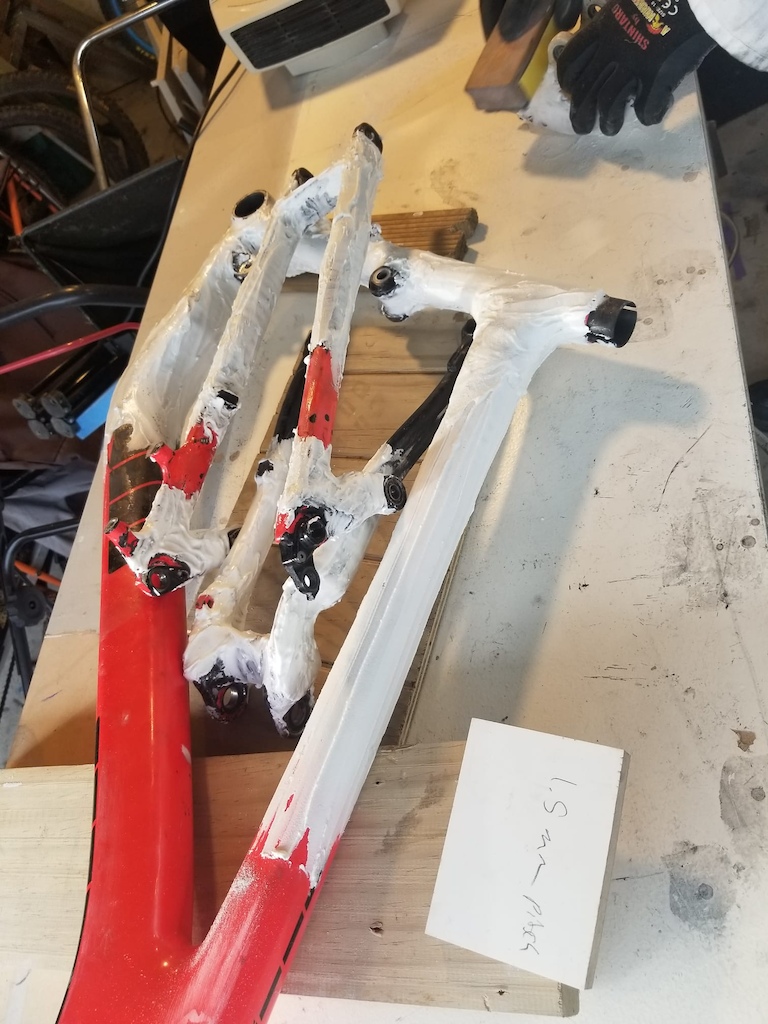
Most of the time building a frame is spent mitering tubes and making small, uninteresting parts like chainstay yokes and bearing seats. By using old frames, ready made parts can be put straight into the jig to give whatever geometry and suspension design is required. Wet layup carbon fibre, like you might use to build a sailboat, allows these parts to be stitched together with sections of tube formed in-situ in the frame jig - no mitering required.
Design Process
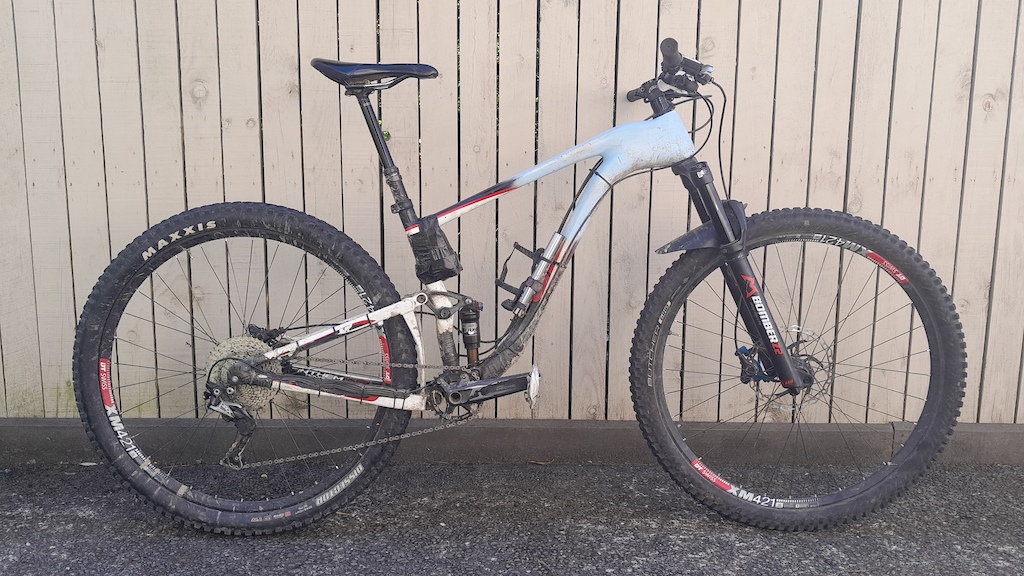
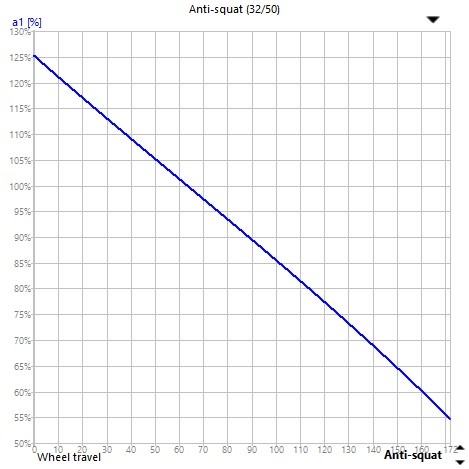
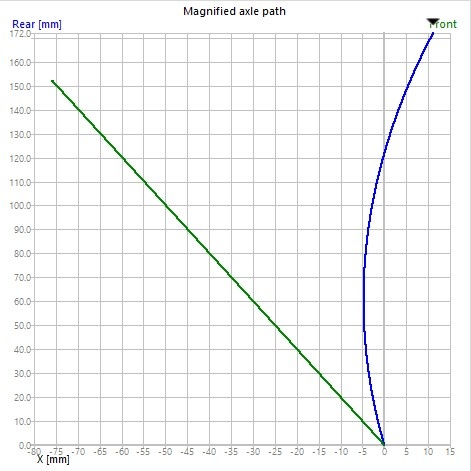
The Pinkbike comment section is full of people with opinions on mountain bike geometry and suspension design. By making my own bike, I get to put my ideas in to practice. I used BikeChecker's excellent Linkage software to help with the design process. This software made it really easy to start with an existing frame and tweak the geometry by simply changing the numbers on the geometry chart. It also allowed me to visualize the suspension curves of my old bike and other bikes I had ridden to help understand exactly what each suspension characteristic felt like. In particular, my old bike with a dual short link design had too much antisquat at full extention, but not enough antisquat deep in the travel. This produced a bike that pedaled well if you could stay close to sag, but that would collapse into its travel or hang up at full extension if you pedaled while the suspension was moving. That is, it was fine on a smooth road, but not so good for technical climbing. I wanted something with similar antisquat at sag but with a much flatter curve. After playing around with different designs I realized that a bog standard Horst link gave the suspension curves I wanted.
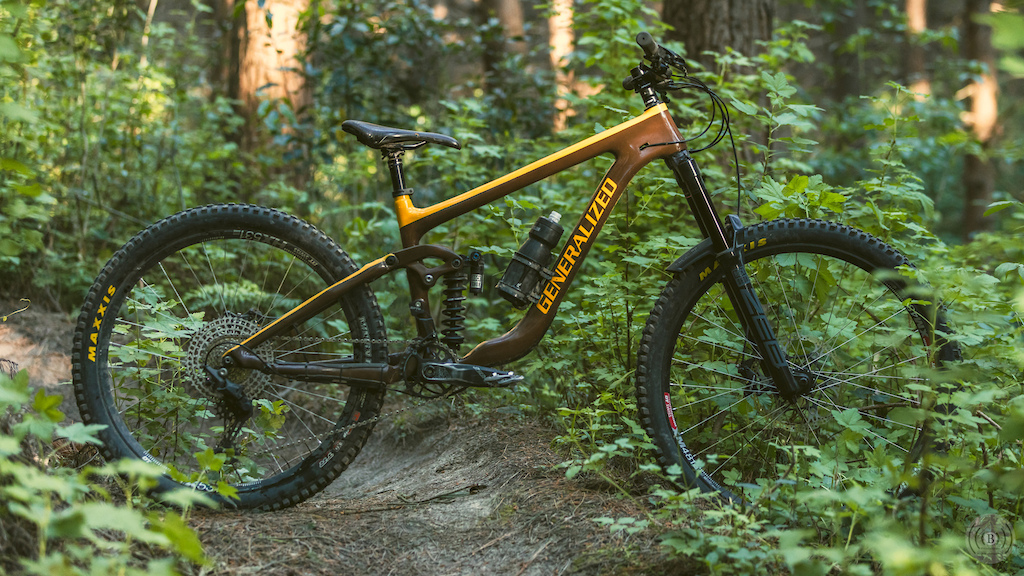
Generalized Mountain Bike
Frame: Horst link, carbon front triangle, carbon/aluminum rear triangle, 170mm travel
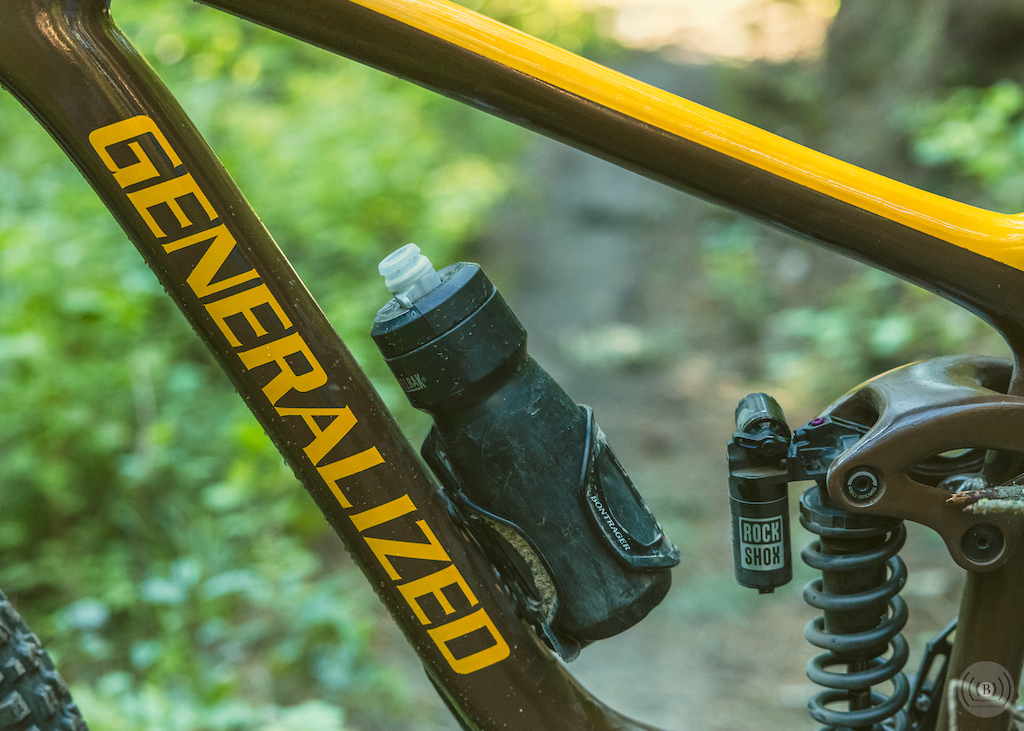
Shock: Rockshox Super Deluxe Coil Ultimate, 205x65mm, 450lb/in spring
Fork: Rockshox ZEB select with Charger 3 damper, 170mm, 56psi, 0 tokens
Wheels: Mullet
Tires: Maxxis Assegai front / Minion DHF rear
Drivetrain: Shimano Deore wide range 11 speed with Sram NX crankset and SUNSHINE 11/50 cassette
Brakes: TRP DH Evo, Hope 225mm front rotor, TRP 203 rear rotor
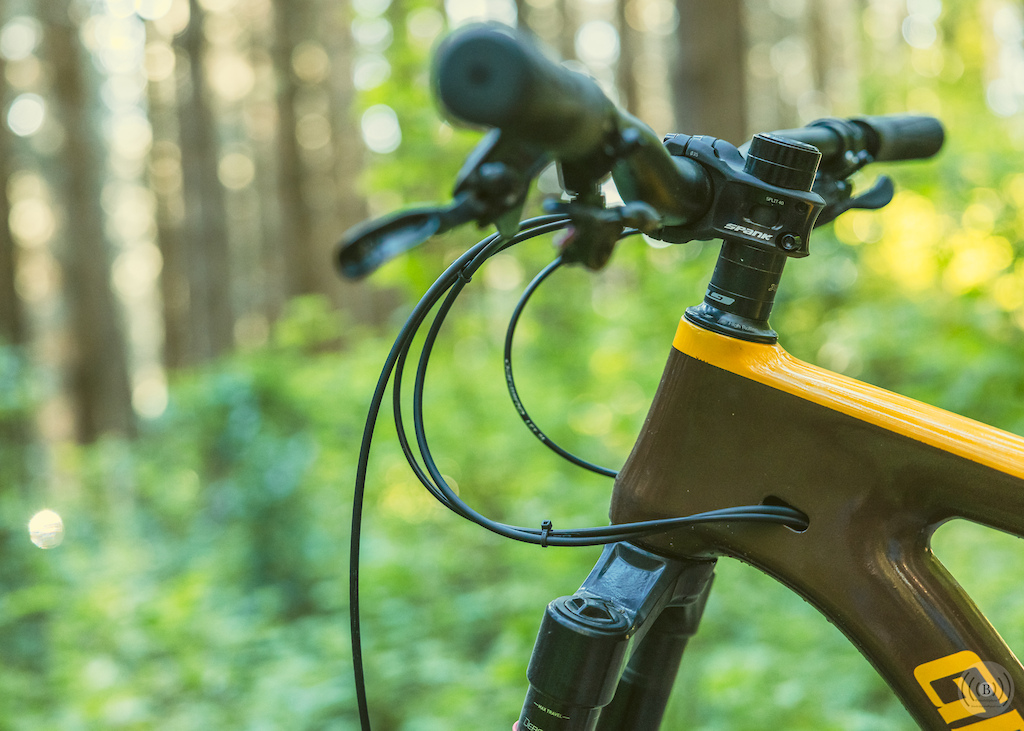
Cockpit: 25mm rise Spank Vibrocore 35 bars with 40mm Spank Split 35 stem
Size: It fits me nicely
Weight: 17.0 kg (37.5 lb) as pictured
Construction Details
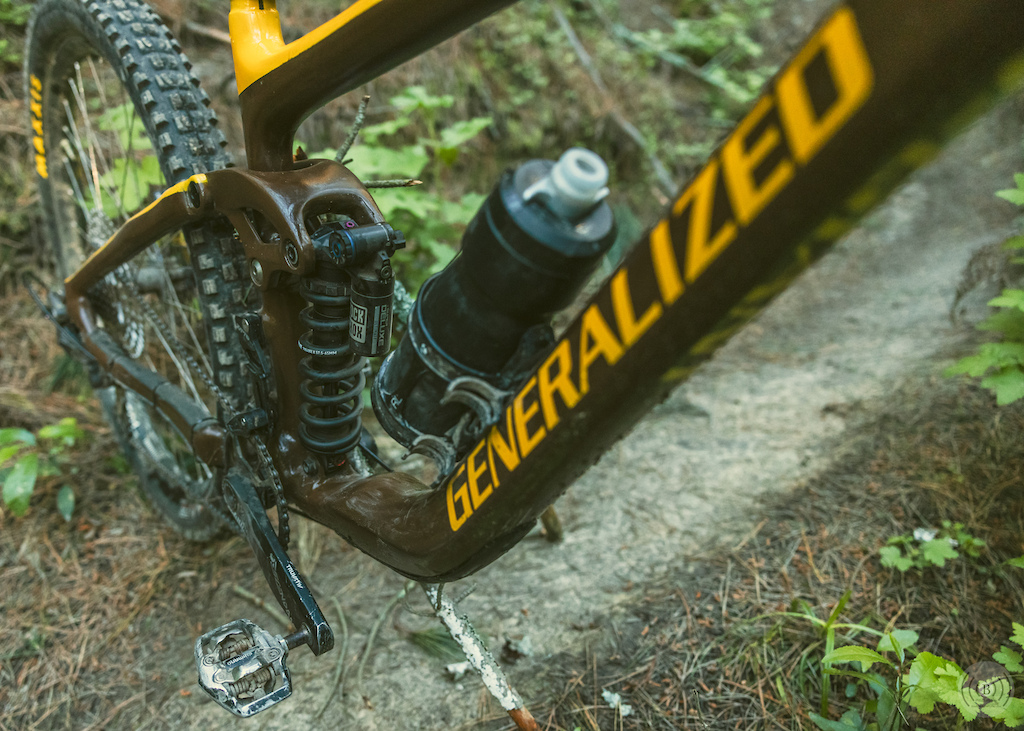
The frame is made primarily using the remnants of a cracked 2017 Giant Reign Advanced cut into many pieces. The BB shell, chainstays and chainstay pivots were modified from an aluminium Stumpjumper circa 2005. Finally, the rocker from a 2019 Reign, which had been cracked but only needed to be repaired, not modified.All the critical points were held in place in a frame jig. My jig uses a base of 100x100 square hollow section as the reference for horizontal and vertical. Fixtures are then clamped to the base using woodworking clamps. Most of my jig fixtures are made from simple steel plates with axles and cones to hold the frame parts, but the headtube and seattube fixtures use extruded aluminum sections for additional stiffness.
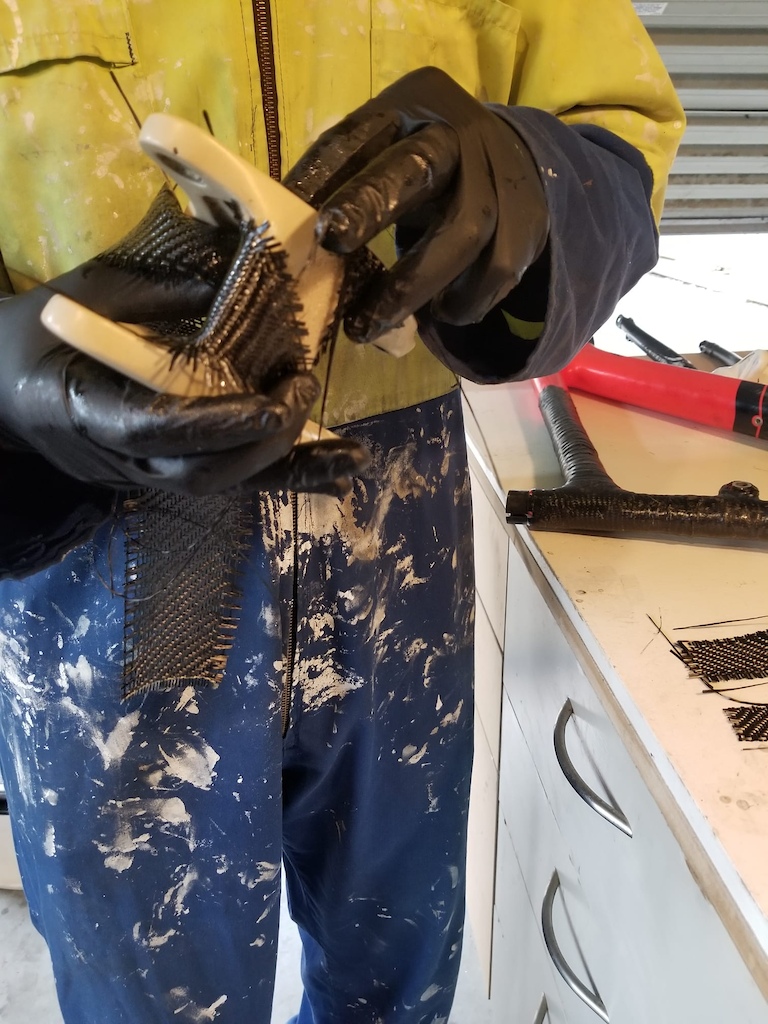
Once the critical points were all jigged up, forms for new tube sections were made using florists' foam and held in place with hot glue. The pieces were then joined using wet layup carbon fiber wrapped directly around the frame pieces and foam. After a first layer to provide enough strength for handling, the frame was de-jigged and a second layup was performed to achieve the desired composite thickness and strength. Each layup was wrapped in peel ply or insulation tape to compress the laminate and squeeze out excess resin. The tape was removed before the resin was fully cured.
After a bit of trimming the bike was structurally finished so I was able to take it for a test ride. Once it was confirmed that everything worked the way I wanted, I stripped the frame for finishing and painting.
How does it ride?
The Mountain Bike's middle-of-the-road geometry gives a very familiar feel right from the first ride. It is an all-rounder with no outstanding strengths and no glaring weaknesses.While climbing, the cockpit feels short but not cramped, with a relaxed, upright riding position. The moderately long chainstays help to keep weight on the front wheel and avoid excessive vague feelings while cornering on less steep terrain. The antisquat hovers around 100% giving a neutral feel with plenty of grip, and no need to reach for the climb switch. With 170mm of travel and burly tires, the Mountain Bike doesn't have the pep of a cross country race machine, but it climbs well for a bike in this category and is very comfortable tackling all day epics with elevation measured in the thousands of metres.
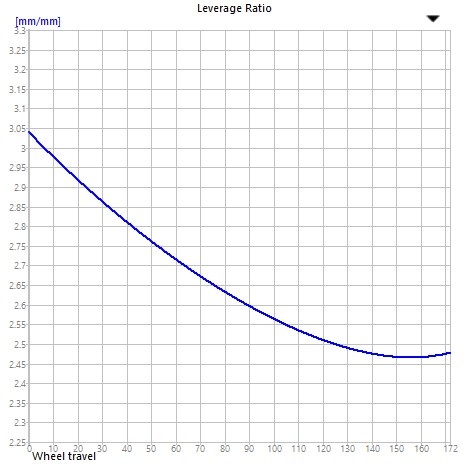
The Mountain Bike also delivers no surprises while descending. It's reach and chainstay length centre the rider on the bike, helping to weight the front wheel and giving a confidence-inspiring feeling while cornering. The moderately progressive suspension design combines well with the Super Deluxe Coil's hydraulic bottom out to provide a predictable and supportive platform. It is reasonably sensitive off the top with good traction, but has enough midstroke support to provide a platform for jumping and pumping. On rougher ground and through g-outs it rides high enough in its travel to keep something in reserve for bigger hits.
On the other hand, the rear end is on the flexible side for a bike in this category. While this flex feels great on natural terrain but can be a bit vague in high g-force bike-park terrain. That trait suits me fine as I have a DH bike for the park, but had I wanted to make the rear end stiffer I could have added extra carbon fibre to the chain and seat stays, or have sourced the chainstays from something more burly than an 18 year old Stumpjumper.
Building a custom frame this way certainly won't be for everyone. Unlike construction using steel, there are few rules of thumb or established practices to ensure the frame will be strong enough. Instead, the framebuilder has to decide for themselves how much carbon fibre cloth to add, what weight and weave to use, and at what orientation. A conservative approach is required to ensure the result is safe. Nevertheless, for an experienced builder it delivers good results in little time. It is also very satisfying to be able to creatively re-use frames that would otherwise go to landfill.
Ride Safe
Jackson Green
Author Info:
Must Read This Week







Errr correct me if I'm wrong - but this is made from a bunch of broken factory made frames
Guy didn’t run a copyright check, guy didn’t do anything to protect himself and guy didn’t do anything to control the narrative that they weren’t actually specialized wheels. He was just selling generic carbon wheels and touting them as some sort of upgrade. They were sketchy and trash wheels, with decal on them that confused customers in the market, especially the secondary market. Can’t imagine giving some rando stacks of cash for some shitty wheels to begin with, but those uninformed customers did and I’m not fully sure they ever knew they weren’t from specialized.
Ree Tire Co?
Schwalbwas?
Badyear
V1... m.pinkbike.com/u/scar4me/blog/so-can-joe-average-build-a-bike-frame.html
Pretty certain this is the couple I watched from inside the broadcast truck when cameras were being tested, racing the Crankworx Rotorua DH track a few years back.
Everyone inside that truck was cheering, was cool/exciting/terrifying all at the same time.
Love it!
As much as I'd love to see a single-layer carbon fiber frankenbike in craction, I believe he meant "liberal approach."
Many years ago, I bought a road bike at a garage sale that had carbon fiber tubes bonded to aluminum lugs. On my first test ride, the frame snapped in half under me. The tube / lug bond had corroded, and that put stress on another part of the frame that snapped. Sometimes a weakened bond one place can cause a dangerous failure elsewhere.
I'd be curious to hear from someone with more expertise evaluate your risk assessment. The bike industry has tried bonding carbon to aluminum in the past, and it seems like they stopped. I'd hate to see someone get hurt because they didn't know the risks.
I resemble that remark!
I think I remember a long time ago that a number of frames which were made with an aluminium bottom bracket shell would fail if the aluminium to carbon interface wasn't properly insulated (by resin I presume?).
...that would not be super friendly to a coil of other fairly linear spring. It actually nicely demonstrates why just the percentage difference alone is far from the whole story. That flat bottom and then regression at the end means you'll know exactly when you bottom out. And those hard bottoms will not be infrequent for a given level of mid stroke support compare you something actually progressive (as in the rate of change of the leverage rate increase as the leverage itself decreases).
Awesome article and awesome work. I don't know if I could trust a frame I built myself but I am not a composite fabricator.
Your eyes are just tricked by the top tube angle.