Tech Tuesday - An Easy Guide to Installing Tire Inserts

Dec 19, 2023
by Pinkbike Originals  
Tire Insert Install Made Easy | PB Tech Tuesdays
0 seconds of 6 minutes, 23 secondsVolume 0%
Press shift question mark to access a list of keyboard shortcuts
00:00
06:23
06:23
 

Tire inserts can be a nuisance to install and remove, but there are a few tips that we've found, or borrowed from other mechanics, that should ease those garage nightmares. In the video above you can see Henry's guide, and Matt Beer has written up his tips below. Both are similar and rely on the same theories but there are small differences. We thought we'd share both, and you can pick and choose what works best for you.

photo
photo
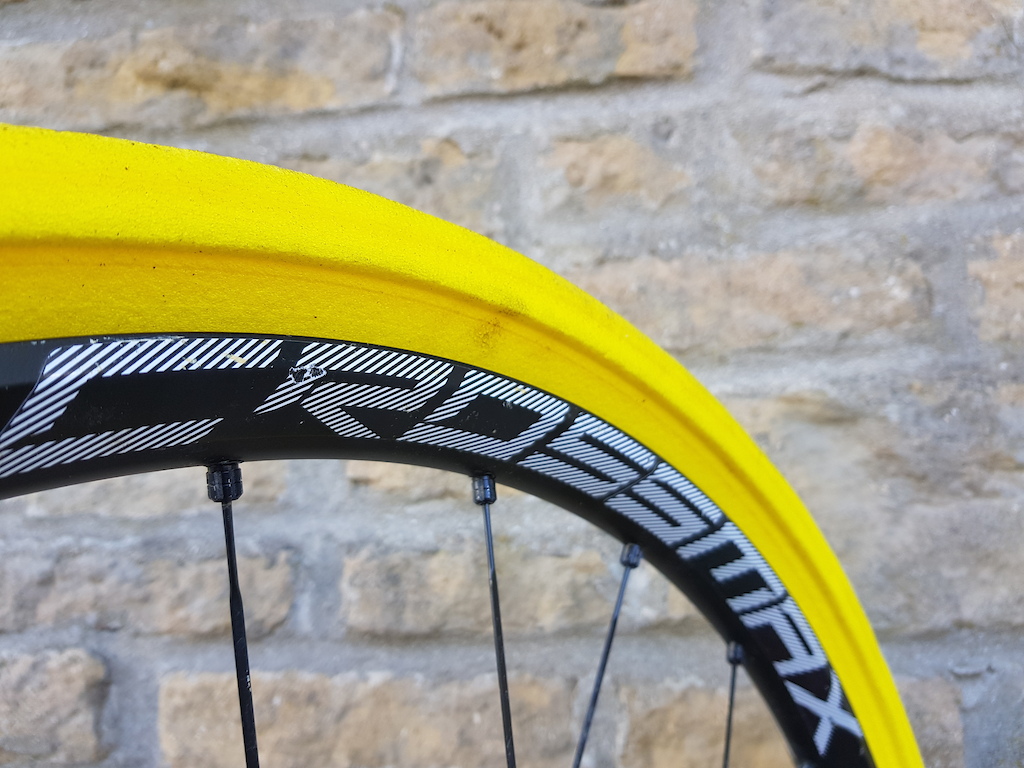
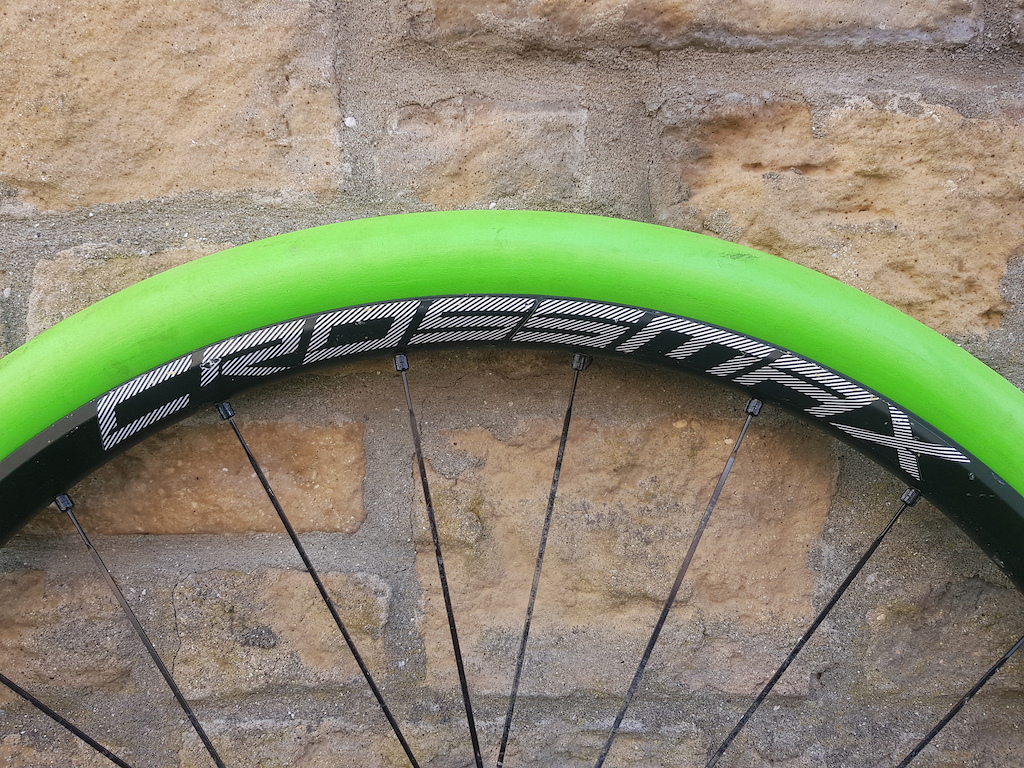
Inserts can come in many shapes and sizes but installing them usually follows similar steps.

Installation

Having a couple of common tools around can expedite the process while relieving stress on your hands, such as an old rag, tire lever valve, core remover, and something like a ski strap.

Step 1: First, make sure you have the appropriate valve that will allow air to flow around the insert. These are different in that they have a cap at the end of the regular presta valve with drillings, making a "T" shape to allow air to flow out the sides of the valve inside the rim.

If you’re really stuck in a jam, you can use a traditional valve to put air in, but removing air or measuring the pressure doesn’t always work as smoothly. To release air in a regular valve with an insert installed, you can loosen the presta valve stem lock ring and push the valve into the tire.

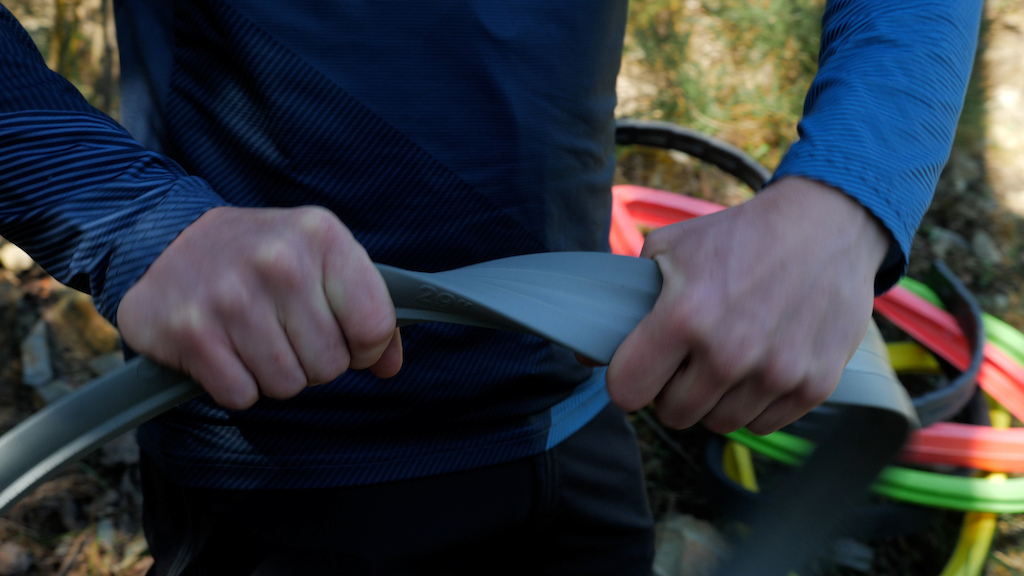
Step 2: I prefer to install the insert on the rim first, starting with the bottom and standing on the rim, sandwiching the insert against the ground. Working the insert in small increments can prevent it from jumping off the rim entirely. Stretching the insert can help ease it onto the rim.

Step 3: Put the rim with the insert installed inside the tire.
photo
If you're curious about inserts, you can see a ride-impressions roundup here.

Step 4: Loop the strap tightly around the tire and rim. This will keep the tire bead from jumping off, as you’ll see later in the video.

Step 5: Start putting the tire on the rim as normal. This seems easy at first but will get tougher as you move around the rim. Once you have about 3/4 of the tire on the rim, you’ll need to start working the bead of the tire down into the rim channel. This is critical as it provides more slack since the inner deeper part of the rim is a lesser diameter than the bead edge that the tire eventually inflates upon.

If you have sealant on the tire, it could be slippery, and this is where the rag comes in handy to provide some extra grip.

Start at the ski strap and work around as this acts as a third hand. Depending on the tire and rim combo, a tire lever can definitely help you out, but be careful not to wrench on it at too much of an angle as you can damage the rim tape.

The best/worst part about this mistake is that you won’t know until you have a tire on and ready to inflate. You can spot leaky rim tape by putting some soapy water around the spoke nipples.

Remember, the deeper you can push the tire bead down into the rim channel, the easier this process will be - work smarter, not harder.

Step 6: Repeat the process for the other side.

Step 7: Depending on how new or particular you are about setting the insert evenly, you can manipulate the insert to avoid any wobbles.

Step 8: Inflate slowly and watch as the tire starts to creep up into place on the rim. Usually, you’ll find a small line on the outside of the tire just above the edge of the rim wall that shows you which part is sitting correctly. You can also follow Henry's advice on regular tubeless tire installs here.

You shouldn’t need to go to the max pressure of the tire to get it to seat. Instead, I normally bring the tire up to 30 to 40 PSI and then walk on the side of the tire, working my way around and pulling the tire into place with my foot.

photo
They can do some vital work in protecting your rims.

Removal

Step 1: Let out as much air as possible, obviously. If the valve core is really gummed up, use a valve core removal tool to speed up the process.

Step 2: I like to lever the wheel against my knees and the ground while pulling the side of the tire back towards me. Like installing, a rag can be helpful to get more grip on the tire.

It’s critical to note that in order to break the tire away from its seated position, you’ll have to drive your fingertips into the sidewall of the tire, pushing on a downward angle towards the inner rim channel. It’s a similar process to installing the tire - this provides enough slack to get a tire lever underneath the tire bead.

You’ll know when you break the bead because you’ll get a small pop noise and possibly some sealant spraying out.
photo
We torture-tested some a little while ago on a wheel-destruction jib. You can see the results here.

Step 3: Continue pushing the bead into the rim all the way around the tire, and carefully pull the bead off the rim with a tire lever.

Step 4: Repeat the process on the opposite side.

Step 5: It's pretty obvious from here, but you should be able to pull the tire out of the insert easily, then remove the insert from the rim. If the insert is particularly troublesome, try pulling up and over the edge of the rim to get some slack. The rag can work its magic again here too.

Let us know in the comments what other hacks you have for installing and removing your tire inserts.


photo


Author Info:
pinkbikeoriginals avatar

Member since Feb 15, 2012
1,095 articles

103 Comments
  • 89 2
 This left all the other steps like anger: “I hate inserts. I hate mountain bikes.”
Denial: “I don’t need inserts. This is all a big lie pushed by Outside and Big Tire”
Bargaining: “god, if you help me here, I’ll stop buying new bike shit”
Acceptance: “I guess I’ll take up trail running”
  • 3 1
 Nailed it.....
  • 14 0
 It also leaves out the first step, which is "open can of beer" (better than bottle, as inevitably you'll knock it on the floor, either by mistake as a lever pings out, or in a fit of rage...)
  • 40 2
 Step 1: don’t bother
Step 2: have a beer
  • 40 0
 Slow down .... I'm trying to take notes
  • 1 0
 Fools and their money are soon parted.
  • 12 2
 Step 3. Run the appropriate casing for your type of riding and the trails you ride.
  • 5 1
 This is why Levy left. He couldn't bring himself to make another propaganda tech video.
  • 1 0
 @chriskneeland: god that would be rad
  • 23 0
 Pshh, his logo isn't even perfectly aligned over the valve stem.
  • 1 7
flag mcharza (Dec 19, 2023 at 8:49) (Below Threshold)
 Nah, too roady!
  • 1 0
 @mcharza: bullshit, logo MUST be perfectly aligned with the valve, ALWAYS
  • 12 0
 If you are having trouble letting air out of your tire because the insert is blocking the stem, just remove the valve core and push a spoke up inside to move the insert out of the way. Much better/easier than loosening the stem nut and pushing the stem up, potentially compromising the seal.
  • 6 0
 Or install valve stem that also has side ports.
  • 1 0
 With Pepi, I wrapped a piece of tape around the insert above the valve so that it is slightly thinner there and leaves room above the valve. Couldn't find Schrader valve stems with side ports.
  • 1 0
 @vinay: rampart inserts come with valves with 3 side ports
  • 2 0
 I just cut a little chunk out of the insert to solve this.
  • 2 1
 You know how cheap and readily available valve stems with vents out the side are right?

All of the tips listed here will work, but for $10 you can get valve stems that work correctly. And in fun colors!
  • 2 0
 @vinay: rimpact*** dang auto correct
  • 1 0
 Ah yeah, I see. I initially tried to drill the Stans Schrader valve but obviously the sealant kept blocking those holes (also tried to cut a cross like the Peaty valves) so I just made the insert a slight bit narrower (with the tape) which was enough for me. Easier than sourcing a special valve on the www and waiting for it to arrive. But yeah, glad to hear it is available. I personally wouldn't buy a valve with an aluminum stem. Too worried it would snap when inflating my tire trailside with a mini pump. Mine has a hose to keep the shaking at bay but still, I'd rather have one less failure to worry about trailside.

I actually want to brush up my CAD skills and print a small cap that slides over the inside of the standard Stans Schrader valve with a smooth top and ports on the side. Really shouldn't be too hard and considering the small size and low accuracy needed, it shouldn't take long to print either.
  • 2 0
 I don't know man, it takes quite a while to remove a spoke
  • 1 0
 @overconfident: If you're lazy, the 2mm allen key of your folding tool may work too.
  • 2 0
 @BarryWalstead: I tried those. They still would get blocked. Cutting a little bit out didn't affect performance and seemed to fix the issue.
  • 2 0
 @acali: I was actually going to write in saying to drill a big enough hole on the insert to allow the valve to sit through without impeding the air and sealant flow. I guess all these insert should have the valve holes formed. Actually, if the inserts have holes at regular intervals, even 4 holes for each quadrant of the circumference, this issue wouldn't have been one in the first place. I wonder if they do this on purpose to make you buy their expensive valves, which are fairly cheap anyways.
  • 1 0
 @CSharp: Drilling a hole all the same through sounds like a good idea. I kept having problems with valves clogging. Tried different valves and finally solved by cutting a notch above the valve on the insert.

Now if someone could tell me what to do to avoid wobbly tires with inserts. Most of it can be avoided by carefully seating everything. But its seems like you get the wobble eventually no matter what with inserts.
  • 2 0
 @acali: Seating is an issue i’ve had with tubes before and the way you’d fix that is to massage the tire as it gets blown to proper pressure. There is a tool that looks like a pair if tong scissors to seat the tire on the bead. However, doing it like what the video showed and what i said works but it’s time consuming! I think the main thing with inserts is almost the same - you’ll need to squeeze the sidewalls and beads to the center of the rim all the way around. Then, pump the tire up in stages, not all the way. Massage the tire and insert all the way around. Put non-petroleum vaseline cream on the tire walls and bead to get the tire bead to seat properly. I did that with the Tannis tube insert for an e-bike rear wheel. That was really tough but it’s perfectly balanced.
  • 12 1
 Still waiting for the "easy guide for removing tires with inserts"

No problem getting them in, but once they have been in there for a while, it's nearly impossible to get the tire off and most of the time I resort to just cutting it off!
  • 5 0
 Oh fair enough. When they're stubborn I use a mallet and a metal tire lever, driving the bead across the rim and don't have too many issues. They can be tricky though.
  • 2 0
 I use a block of 4x4 wood lay the wheel on the ground put the wood under the tire, but not the rim stand and gently bounce on the sidewall of the rim right next to the wood tire should pop off the bead of the rim pretty easy
  • 1 0
 I’ve cut them off before when I tried everything and failed
  • 2 0
 @henryquinney @k-n-i-x-o-n how the hell do you deal with flats on the trail that can't be repaired with plugs?
  • 4 0
 Try this for removal: www.youtube.com/watch?v=lt9tRN1xpLE&ab_channel=RimpactComponents

Was sceptical, as it is counter intuitive, but it works very well and was a game changer for me. Once that bead is initially cracked, the rest is easy.
  • 5 0
 @RadBartTaylor: ride it out on the insert.
  • 1 0
 @Austink: sounds like fun - where do I sign up
  • 2 0
 you just have to man up and squeeze/pull it off the bead with your hands
  • 2 0
 Brace the tire against both of your knees and pull the outer bead toward you. I've yet to find a tire that didn't work with.
  • 1 0
 @Buggyr333: I had a stubborn tire once that I had to cut off no prying, prodding, levering would get it to budge and no way with bare hands and I'm no small dude and change moto tires and a regular basis.
  • 9 0
 Something that has helped me in the past if your tires are new is installing the tire first with the insert and letting sit for a while. Then deflating and and removing one bead and slipping the insert in and closing it back up.
  • 14 0
 Wait just a minute... you already have the insert installedRolleyes why should i proceed to remove it and reinstall it ? Your method is whack ! Facepalm
  • 7 0
 Think you have a typo... but THIS is the way.
  • 3 0
 Depends on the age of the insert (at least with cushcore). With new cushcore, the insert is tight af and putting the insert on the rim first, then doing the tire as recommended works the best. If the cushcore is used and stretched, then setting up the tire without an insert, removing only one bead and installing the insert like a tube works wonders.

Or just thicker casing and +2-3 psi but hey.
  • 3 0
 This is my preferred method as well. It was mentioned in a tire article from a couple of months ago that most manufacturers encourage an intial over inflation of tires to help to break them in, it also helps when installing inserts. I'll inflate a tire to 40psi or more, leave it for a couple of hours or overnight if time allows then slip one bead off and install the insert.
  • 2 0
 Yeah I did a typo my bad. I meant without the insert at first.
  • 2 0
 @likeittacky: typo, my bad Smile I meant without at first
  • 9 0
 Even Cushcores are easy to put in-if you do it right. Make sure the bead is in the center channel of the rim, and the tire goes on pretty easy. Never needed more than a tire lever. Having a pre-installed tire and pre-stretched insert do help.
  • 5 0
 And do it on top of a trash can. It's not that hard.
  • 1 0
 @pisgahgnar:
trash can tip has reduced my swear-word expulsion rate by 96%
  • 7 0
 But you made it easy anyway, should have used Cush Core Pro + Schwalbe tire Smile The amount of force you put into getting the tire under the insert was much much less than required for CC.
  • 4 0
 Mary SG owes me so many tyre levers...
  • 10 1
 just buy the cushcore bead tool, it rules
  • 3 1
 Agreed...two of them works even better. Soapy water, and 2 of the 'butt plugs' and its quite easy even with DH tires.
  • 3 0
 The bead tool can make or break the installation. Thing is most people don't realise how critical it can be to get the bread into the centre channel. I use it on my SG Marys even when I'm not running inserts, as they are tighter than something that'll get me kicked off this site for talking about...
  • 7 0
 Can you redo the video with a Michelin DH tire, Cushcore Pro and a Bontrager wheel please? Just curious
  • 2 0
 Yes, yes, please do Michelin DH tyre! It was such a pain putting it on, I'm afraid I'm gonna have to toss the whole wheel when the tyre is worn.
  • 5 0
 Try ditching the Bontrager TLR rim strips that comes with all of those wheels and use regular tubeless rim tape. The TLR strips make it a lot harder to push the bead of the tire deeper into the rim.
  • 2 0
 Those Michelin tires are hard to install without inserts! Pretty much guaranteed to scuff your rim tape with a lever. No bueno.
  • 1 0
 @adrock-whistler: The problem is the centre channel is too narrow to get the bead of both sides of the tyre in there with anything except the thinnest exo tyres. This makes DD and DH casings basically impossible to get onto the rim.
The only easy way I have found is to seat the tyre fully then drop one side to install the cushcore.
  • 2 0
 For me, the other critical thing with tougher beads is decent gloves - really wrestling with tyres tends to make me perfect for a bank job, as I'll grind off my fingerprints! I actually prefer heavy gardening gloves too mechanix. They also seen to grip fairly well if the soapy water has to come out. And finally, cold tyres are pig this time of year - upset whoever you live with and for the tyres indoors!
  • 2 0
 Yep putting the tires out in the sun or by a heater until they are warm to the touch definitely helps.
  • 1 0
 @Austink: could also toss them in the oven at a really low temp for a bit (probably as low as the oven may go?)
  • 1 0
 Put them in the front seat of your car with the heat blasting for about 10 minutes. Softens them right up.
  • 1 0
 @Raymansd1: agreed. Let them sit in the sun if it’s warm or I’ve got a little fan heater in my garage I warm them up in winter and as long as you get the bead in the well of the rim and finish at the valve you won’t need tyre levers at all. This is without inserts.
  • 2 0
 @thenotoriousmic: with or without inserts, if I allow the new tire to warm up I typically don't have an issue with getting a tire on a wheel by hand. This thread is bordering on hilarious, with all of these people complaining and bashing on inserts. I'll keep riding inserts and medium casing tires and the money I save by spending less on tires and not destroying rims will keep stacking up & stuffing in my mattress, haha!
  • 2 0
 Keep some of these "food bowl storage covers" around to wrap the rotor when installing and removing sealant tires. Small price to protect the rotor. www.amazon.com/gp/product/B08FBV7YLP/ref=ppx_yo_dt_b_search_asin_title?ie=UTF8&psc=1
  • 1 0
 Genius. I'm sure I have some of these deep in my random bike bin. Next purchase is one of the pumps with a pressure chamber to blast air quickly into the tire. Sometimes a regular pump will work, but the blast of a high pressure (air compressor or pump with chamber) is more reliable.
  • 2 0
 A 17-18" used motorcycle tire works really well, on the floor, for pushing the bead into the center valley. Sure, you'll have to use your body weight. But use gravity to your advantage.
  • 2 0
 Having spent all this effort installing the insert, in the dark hidden world of your tyre, when you pump some air in the insert compresses down all small like.
www.youtube.com/watch?v=CfgPt_nULxQ
  • 1 0
 I asked for toe straps at a hardware store once. I was promptly shown to a rack of heavy duty canvas straps that could definitely tow a Raptor out of the mud but were thoroughly useless for installing bike tires. Stupid English language.
  • 1 0
 by far the easiest way is to mount the tire to the rim without the insert first and inflate it to the maximum pressure. Then let it sit there for a few minutes to get it to a nice rounded shape and a way softer handling. after that just remove only one side of tire. put the insert in, so you only need to do one side and the insert pops in way easier if the first side of the tire is already in place. Try it and you will be amazed how easy it is even with real bulky DH casings. Give it a try
  • 1 0
 Reading guides and watching videos are typically easy… putting in an insert in a tire will be a traumatic event. I find it’s best to go ahead and just get some time on my therapist’s calendar to work through the regret and sense of failure that usually results… if I do that, my hands and self esteem are mostly recovered within a week.
  • 1 0
 I’d love to see a field test of a trail tyre with an insert vs a dh sidewall tyre. Grip, feel, rim protection, weight and puncture resistance. I’ve never run inserts but I find with a dh or supergravity rear tyre I get about one puncture a year and *think* I flat spot fewer rims than on a trail wall tyre.
  • 1 0
 @wgm20: I can tell you from personal experience, I haven't damaged a rim since I converted to using inserts and medium casing tires (EXO/EXO+ or equivalent). The $ I have saved in spending less on hoops and DD or DH rated tires has really added up. But that is my experience...
  • 3 0
 I think this was all done via special effects and the massive f-bombs were edited out in post.
  • 2 0
 It's completely CGI!!!!
  • 2 0
 The fact he’s using a alum flow rim is a huge cheat… I want to see this video done again with dh casing on some Bontrager carbon rim…. If you can manage that without dropping f bombs you’re a monk
  • 1 0
 Putting it on is a piece of cake. Now take off the milk-stuck tyre after six months of riding. I'm curious to see what it would look like on a film like this. Without cutting Wink
  • 4 1
 So now we’re idiots too?
  • 4 2
 It was a joke and I was semi worried people might take it like that. Im going to change it now. Cheers
  • 4 0
 @henryquinney: my comment was also a joke. I was not really offended. I’m just trying to be funny.
  • 8 2
 @robdonovan: Ha - well I was easily spooked. Probably best changed anyway. Cheers
  • 4 0
 yes. Yes, we are. We spend all our money on bikes, our time on bike websites, sometimes we ride bikes, and most of the time is spent complaining about bike parts on forums. We are idiots to the rest of the normal world.
  • 1 1
 @henryquinney: reactions were always going to be as soft as a tire without an insert.
  • 3 1
 @robdonovan: Gotta use the emoji to perfect that sarcasm Mike Levy
  • 1 0
 Good stuff, I'd recommend using a flatter, wider tyre lever, as good as the Park ones are in most instances, the wider ones slip under the tyre easier as you near the end.
  • 1 0
 Try installing a Maxxis Disector this way and you will end up with some wobbly tires! Can't be reefing on the levers like that with all tires, but will work fine for some.
  • 1 0
 If "remove the valve stem" isn't on the list, then the directions are garbage.

Remove the valve stem and never take your.inserts to the shop again.
  • 2 0
 great trick using the strap to keep tire/insert in place
  • 1 1
 Wow! I was considering getting inserts, just to try something new. But if this is the "easy way" I put the idea far far far far away!
  • 2 1
 Don’t do it. This is looks 10x easier than it is in real life. Dealing with inserts is like an abusive relationship with someone who is good in bed.
  • 1 0
 @deez-nucks: this made me laugh, but just like relationship techniques: as you you learn some patience and finesse, the rewards are immense.
  • 1 0
 This video is a con ! Try doing that with cush core and Continental DH casings !!!!!
  • 1 0
 The flow rims are incredibly easy to pull tires on and off of
  • 1 0
 "An Easy Guide to Installing Tire Inserts"

Well, the guide may be easy but the tire inserts aren't.
  • 1 0
 Mount up your tires first and ride them for a few weeks and then do the insert install. You're welcome.
  • 1 0
 Why don't those straps come in Park Tool Blue? Theyve got to be better than black?
  • 1 0
 This way looks much easier than what I’ve been trying, thanks Henry!
  • 1 0
 Those are some crazy looking tubes you're installing there.
  • 1 0
 Nice job. Thanks for sharing.
  • 1 0
 Without the insert*
  • 3 3
 you forgot step 1) throw the inserts in the trash and stop using XC tires.
  • 2 0
 I've flatted enough tires to know that I'm going to get a flat if there isn't an insert in there. Sure, I can ride carefully (as if I had a tube) but what's the fun in that.


Copyright © 2000 - 2024. Pinkbike.com. All rights reserved.
dv42 0.046434
Mobile Version of Website